Saturday, January 19, 2013

Scrappy Saturday - Notepads!

I made these several months ago.
I actually made several more, but never got photos of them.
Dunno know why???
...and... they are ALL gone!  Gave each and every one of them away.
I know, I should'a sent one to my friends in Oregon, right???

There is a show on the internet I watch EVERY day.
It's called 'MY CRAFT CHANNEL'
(you can click on the title above and go right to the site)
I LOVE it!!!  Actually, somedays, I'm not super interested in something... that I may skip it.
BUT.  Besides the main show, there are episodes by other people
about everything from scrapping to decorating to vendors showing their wares
and blog authors sharing their fun ideas!
It's just FUN!

Since I'm in a town that has NOTHING, and I mean nothing, as far as 'fun' stuff...
it's really a great outlet for me!!!
On the show, is my favorite designer, Heidi Swapp.
On one of her older episodes, I actually sat down... hit the pause and go button,
and made the notebook!!!
It was so much fun.
Here is the link for the episode NOTEBOOKS
And here are four of my notebooks.
They are made from the small 5x8" notepads!


Yeah, I know... I used OLD papers and trims again!
But a girl has to use up her stash, right???
Then, some close-up details of the quick, but FUN embellies!
(some slightly blurry photos ahead, sorry)


This is quick and short! Gotta go... to work!
Love you all...and thanks for visiting!

danella

Wednesday, January 16, 2013

UPcycle found things!

This UPcycle day is about THINGS that I have found that I have changed to fit ME!
I LOVE LOVE LOVE going to the thrift stores and looking for:
candlesticks, boxes, plates, glass dome somethings, and more.
When I get home, I clean 'em up, sand 'em down and start painting and gluing!
Simple and fun!
If it can be done quickly and easily, it's for me.  
I always have a can of black and a can of white spray paint oh hand...
(I use RUST-OLEUM Painter's Touch Ultra Cover 2x)
 
Here is a photo of some more recent goodies:
 
 
...and the details:

This first one is one of my favorites.
The metal holder was black.  I painted it white, and distressed it.
The candle I had, it was old and white and dirty.
I simply covered it with some corrugated cardboard 
that came from some packing from work.  Yes! I save stuff all the time.
Then added the cute simple bow with some burlap ribbon that I had on hand.


This one was so easy too.
Simply painted a candlestick with white paint, and distressed it.
It's topped with the 'sister' to the candle that I have covered above!
I think I need to cover IT with some corrugated cardboard too!

 
This next one was a bit trickier.  I had the wood candlestick for awhile.
Like I said, I go to the thrift stores often, looking for certain items,
one of those is wooded candlesticks!
The top finial was the tricky one.
I finally found some at a woodshop...[yeah it's new]... that my hubs and I went to!
They weren't too pricey, so I got some in different styles.
Once I glued 'em together, on went the [spray] paint!
Then distressing.
 

This little candy vase is one of my favorites too.
It WAS a bowl with a plain wood lid that had an [ugly] wood knob on top.
I broke off the knob, sanded the lid, and spray painted it, and distressed it.
My darling daughter had a glass knob on hand which she gave to me!
I simply glued it on top and tied on the jute bow.
The candlestick base?
I, again, looking and gathering at the thrift stores, ALSO keep my eye open for the 
old-looking tarnished [silver or pewter?] candlesticks.
I glued one to the bottom of the jar with some E-6000.
SIMPLE, in-expensive, and SO CUTE!
I fill the jar with different items, following the seasons.
(Christmas it was tiny pinecones!)


The little box I have had for YEARS.
Never hardly used it. I went scouring around my house one day, looking for 'new' treasures.
FOUND IT!
It was stained a dark Americana stain.
I painted it white, distressed it, and VOILA!  A brand NEW box!


I fall for RED every time!
It's my FAVORITE color, hands down.
This little candle jar had a BLACK metal trim and handle.
It still has that same trim, except I took it off, and spray painted it WHITE!
Simple to do, and it fits ME so much better!


I found these two wood candlesticks a while back.  They, too were stained brown.
(Aren't they all???)
Again, a little white spray paint, a little sanding, and now I have some CUTE candlesticks.


I got this pretty bucket at Target last year in the DOLLAR section.
For a DOLLAR.
It was PINK.  Yep...
I like pink, but it's not for me.
So first, I painted it RED, then sprayed WHITE over the top!
Then lighted sanded it to just expose the red a wee bit.
Lovely, isn't it???


I've had this birdhouse for a long time.
It was in the GO AWAY box!  I was just tired of it, and it was washed out grey...
and I just didn't have anywhere for it anymore.
Well, my daughter suggested, 'why not paint it, mom?'
So I did!  And now I have it, and use it often!
It's kinda funny, I think.  We often HAVE things... and we move 'em here and there,
never really SEEING them.  It's hard, at times, to LOOK at them with a new light,
and re-discovered why we liked 'em enough to buy 'em the first time.
SPRAY PAINT does wonders.
I'm all about WHITE right now.
I'm really liking it, 'cause it goes with EVERY SEASON/COLOR,
and it allows me to mix in a few POPS of color!
So, I paint just about everything WHITE now.


This was an old/found cheese board/cloche.  I cannot remember what we called 'em?
I had another one, that I sold during the summer.
Then, got lucky and found another one, guess where???
(the thrift store, of course!  For just $1)
I had found the [silver] candlestick before... (I still have a few on hand!)
And again, simply sand, and paint.
Although, this time (and I think more often now) I first spray painted it BLACK.
Then white over the top.  I DO like the way the black looks peeking through the white.
E-6000 the candlestick to the bottom of the base... and
another CUTE accent!


And then, last, but not least.
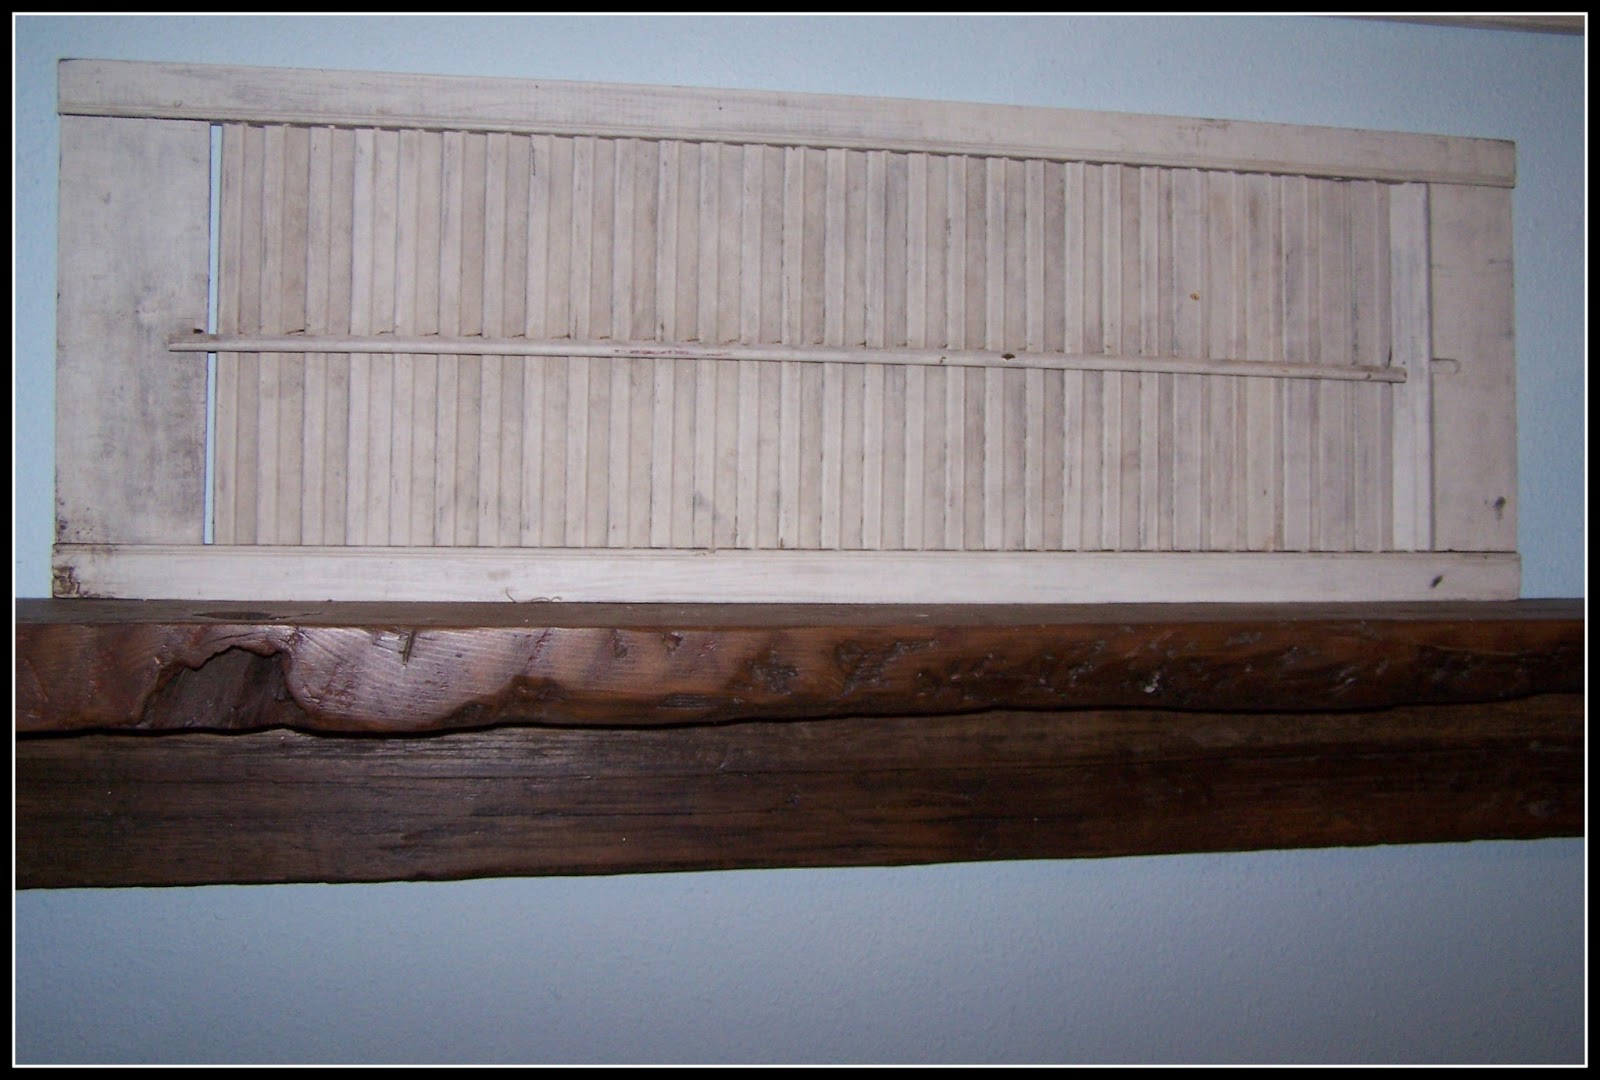
The SHUTTER!
My hubs did a 'clean-up' job for someone that was moving.
We find a LOT of treasures when he does those jobs!  They are the BEST!
The shutter was already white and aged.
It's a bit fragile... I had 3 more (that were coming apart alot more,
 gave 2 to my daughter who sprayed 'em blackish..
and used them for her Halloween decor!


I hope I've inspired YOU to start UPcycling!
It's fun and good for the EARTH.

thanks for visiting!
danella

Tuesday, January 15, 2013

Carving a Fox and a Wolf

Terry is a chainsaw woodcarver.
He has done all sizes of carvings, but one of his newer challenges is [really] SMALL.
He did not use a chainsaw for these.  He used a scroll saw and dremel.

He had an order for a wolf carved from a block of cherrywood supplied by the customer.


This is what it looked like (the block was 11" x 10" x 1 3/4")
The challenge was the thickness... not easy.
The photos will show the process:

 
 He actually did a practice piece first, which turned out to be more of a fox.


Since the first one came out looking more like a fox, 
he carved a second practice piece out of cedar to get it to be more of a wolf.
Then, when he did it with the actual cherrywood, he had the wolf down pretty good:


 And then, the customer wanted it oiled: (to highlight the cherrywood)


Finished, they are about 5.5" tall (the body only) x 10.5" length.

thanks for visiting!
danella and terry

Sunday, January 13, 2013

A Menu Board


As promised, I am sharing a really cool project!
I don't know why, but I have plodded along with this project forever.
I first did it with some dark, but really one of my favorite papers...
But, it was just TOO DARK.
So I took it apart.
So, when my daughter took me along with her and the kiddos on a trip to Phoenix,
(SO MUCH FUN)
We took the opportunity to go to Scrapbooks, etc.
It has both scrapping stuff AND [to die for] fabrics!
We went there two days... (not all day, but several hours)
LUCKILY, I found some NEW paper that worked perfectly for my board.
They are by Authentique and Teresa Collins.

It is a MENU BOARD
I did a bunch of looking and studying and thinking about what would work for ME.
One of the big things, was, it needed to be simple.
I'm not one for... oh... over-doing or over-thinking.
I really wanted one, 'cause I feel that it MIGHT help me get over the hump I'm at every day,
of trying to figure out, 'what's for dinner?'.

 It's simple and to the point.

The way it works:
The little envelope box at the top holds my recipe/menus that WE eat.
The lower envelope box holds blank 3x5's for me to write what
I need at the grocery store for the weeks menu's.
The clothespins at the left hold the week's menu choices (Monday- Sunday)
 (So every Sunday I'll make my choices for the week, then shop on Monday if I need to)
Other boards I have looked at included entire recipes ON the 3x5's, monthly plans, and alot of other 'stuff'... that just complicated it too much for me.

The 'board' was off of an old bathroom vantity, it's one of the doors!
I painted it and distresed it.
Then made typing paper patterns to fit perfectly in the recessed area.
Then, used those to cut the patterned paper to fit.
The 'boxes' I made, using sturdy duct tape to hold the sides.
Then, I covered it with the patterned paper!
The banner is from Heidi Swapp.
The flowers are old wood accents that I've had forever, but I re-painted 'em.
The 'menu' letters are from the Basic Grey chipboard letter sets.
I (spray) painted the clothespins, then hot-glued them in place.

Here is a close-up of the lower section:


Here is a picture of a 3x5 card that I have in the bottom pocket...
(it's my shopping list for what I need for the week's menus)


...and this is my Recipe Book that I keep most of my most-used recipes in!
I either take 'em out of recipe books, or re-type or write 'em up to fit.
It's easier for me, than hunting through too many books.
I have the board in an easy to see and reach place... 
On a wall space between the kitchen window and cabinet.
thanks for visiting!
danella


Saturday, January 12, 2013

Scrappy Saturday

It's Scrappy Saturday again!

I can hardly believe it's been a week already.
Time flies when you are having FUN, right?
So I must be having fun!

 I have TWO layouts to share with you.
One, this first one, I have had in my 'TO DO' pile since ... believe it or not, 2008.
I had a page bookmarked in the Scrapbooks etc. July 2008 magazine all this time.
This is the layout:

 At the time I worked at Craft Warehouse in Gresham, Oregon.
I used their Accu-cut machine to cut out the 'water'.
If you live near a Craft Warehouse... it's the BEST craft store EVER,
and definitely warrants a trip to!

This is my layout.  I had the pictures too, from way back then.
My grandson was a very young little guy!


Yes, I used only cardstock.  I 'altered' it using the  Tattered Angels 'Glimmer Mist'.
It was fun, AND messy.  I do have an easy clean-up mat... but still.

And her are some of the DETAILS: 


I didn't want fish... so I made beach balls, using large brads and covering them with ZING!
If you've never done this, it's fun and easy.
Just cover the brad really well with Versamark, then dip into the ZING! and emboss.
Let it dry well, before using it. (doesn't take long at all)
I did the same thing with the lettering, as I couldn't find some that matched well enough.

 
 This next layout is:
'outta my head'.
I don't think I'm very good sometimes, but my daughter LOVED it...
so that's good for me!

Yeah, it's me holding my kiddos.
I LOVE them SO much.
Here are some DETAILS:
Again, I had the pictures and papers together for a LONG time.
And, my goal is to get OLD projects DONE, no more excuses.
So, yes, the product is older.
EXCEPT for one thing.
The ribbon you see at the top of the page.
Heidi Swapp uses this all the time.
I finally ordered it off the web, and tried it... and LOVED it.
It's [HUG SNUG] seam binding, believe it or not. 
You can get it HERE. I just got WHITE, so I can color it how I want!
And it's VERY in-expensive!


I misted with the Tattered Angels Glimmer Mists.
I only have FOUR bottles of it.  Someday I want to get Heidi's new Color Shine.


I have a neat project to show you tomorrow.
I can't wait...
I've been working on it for awhile...
and I'm FINALLY adding it to my 
I DID IT!!!

thanks for visiting!

danella

Thursday, January 10, 2013

Up-cycle That!

I know today is Thursday.
But... I'm starting another 'regular' post:
'Up-cycle That!'
It will be every Wednesday.
Why do I do it??? 'Cause it motivates me to 'get 'er done'!!!

So... we have [Saturday's]  'Scrappy Saturday' 
and [Wednesday's] 'Up-cycle That!'

My hub's is amazing when it comes to being the 
ultimate 'honey-do man' that we all wish we had.
(me?  Well, I'm lucky enough to HAVE him!)
A friend of my daughter's hired him to do some 'honey-do' things at her house.
One of them was a severe 'leaning' pantry cabinet in her kitchen.
There were gaps between the cabinet doors, the walls, the floor...
She has beautiful solid oak cabinets... that have the ultimate organizers inside of them.
This big cabinet, besides having a severe leaning problem, 
 was also not meeting her needs, as she needed more room.
So Terry fixed the severe lean and gaps, and
took out the innards and made custom new shelving!
So... what to do with the [really cool] 'innards'???
This was TWO sections.. NO top or bottom.
Terry attached them together, and made the top and bottom sections:

Then, he made the doors. They are solid oak. He cut them and hand-sanded each one,
including hand-sanding the edges to get the nice curves.
 (we are not blessed with a machine sander, other than a palm)
They turned out absolutely beautiful.
Here they are drying from the finishing coats.

 
Then, after attaching the doors and knobs;
She has an awesome custom compartment cabinet!


thanks for visiting!
...and come visit next Wednesday for the next:
"Up-cycle That!"

danella


Saturday, January 5, 2013

Scrappy Saturday

I needed a day on my BLOG that would motivate me to GET IT DONE.
I love ... really love scrapbooking.
But I also really love a lot of other things too!
Hence, me getting side-tracked.
But I have SO MUCH scrap stuff, I really need to use it.
So my New Year's Goal (one of 'em) is to USE IT UP!
(But of course, I do at times buy something NEW.)

I find a lot of inspiration from Pinterest AND from Blogs.
When I see something I LOVE, I will pin it... so I can find it again.
I did a bunch of layouts that were inspired (or scraplifted) by layouts that others have done.
I'm gonna show you THEIRS... and MINE!
Hopefully, in this, you can see how the talents of others can inspire YOU!
I don't copy them completely, I just take certain elements... and make it my own.
So, without further ado, here we go:

(I am going to give you the BLOG, 
the designer name-which if you click on will take you to the bookmarked blog location, 
and then where I found it originally!)

This is from the BLOG  http://pebblesinc.blogspot.com
...and the design is by: Laura Craigie
 I originally found it on Pinterest. (My Pinterest Scrapping Stuff that I've done is found HERE.)


 ...and here is MY VERSION!

 Details:
 

This next one
Is from the BLOG http://www.cocoadaisy.com
and the design is by Kim Watson
I originally found it while looking at Cocoa Daisy layouts by their designers!

and... this is MY VERSION!
 (my grand-daughters love this one, 'cause of all the sparkly gems!)


Details:


This next one
Is from the BLOG http://getpunkysprouts.blogspot.com/
and the design is by Leah (a Punky Sprout Designer)
I originally found it while looking at the Punky Sprouts blog!
*Punky Sprouts product is by a good friend of mine, Shelly Mitchell.
She is AMAZING.  It tickles me SO MUCH all that she has accomplished!


and then MY VERSION!

Yeah, I know it looks a LOT different!
But I use other ideas for inspiration!
TRY IT!
The Details:

This is from the BLOG  http://www.cocoadaisy.com
...and the design is by: Lisa from the Cocoa Daisy Design Team
I originally found it while looking at Cocoa Daisy layouts by their designers!


Then, MY VERSION!

Details:

I loved doing this last layout!
It was DOING a bit more than usual... which was FUN.

Hope these inspire you!
Thanks for visiting,

danella