Saturday, August 31, 2013

Cabinet Door Chalkboard

I found this cabinet door at a dump site we go to.
It's not a 'garbage' dump in the sense 
that it has wood 'garbage that they shred.
(long story)

We find some great 'treasures' here now and again.

I sanded it well... and filled in the knob hole with wood filler.
It was heavy!  oh my gosh...


Then I sprayed painted primer, then white matt paint on the edges.
Then taped that off when it was dry, and spray painted
chalkboard paint in the middle!  
[I did discover that I like painted on chalkboard paint much better than sprayed on]
And of course, distressed the edges a bit.
I also drilled two small holes in the corner, to tie a cute bow!
(It can be changed out.)


I gave it to a good friend of mine for her 'baby gift'!

Cute, fun and easy.

Friday, August 30, 2013

Calendar Stand Updates!

I love love love my calendar stand!
Love just 'playing' with my [over-abundant] stash!

I've shared June and July...
Now here's August and September!

August was SO FUN!


The only NEW item on this is the 'card' with the bicycle!

 Believe it or not... those flowers you see?
Those are from Craft Warehouse in Gresham, Oregon.
I used their fantastic accucut die cut machine.
(that I miss like something terrible)!
(I cut those out 5 or 6 YEARS ago!... yep.. using up my stash!)

Here's September!
I really love this one!  Un-expected for September?
(maybe I can stay ahead???)


The only NEW items are:
the card and the teal wood paper and the chevron stripe paper!


I thought this one was so cute!
I love love love layering!
And I used ZING!
I had forgotten how FUN it is to use that embossing powder!
I used it on the metal love tag, and the chipboard key.


This girl is happy...
when she gets to play and play and play!

thanks for visiting!


Saturday, July 6, 2013

JULY Calendar!

I finally finished the JULY calendar for my cute (much loved) calendar holder.
If you didn't see the first time I shared it... you can go HERE.

So, here's JULY.


As I continue, I'm sure I'll make adjustments to make it 'better'.
I LOVE the paper! We found it at Big Lots.  It's by 'Pebbles'..'Let Freedom Ring'.
(remember I live in a town with NO scrapbooking sources)

Here are the DETAILS:
This is what it looked like before I added the punched scalloped circles under the whirligigs to make 'em 'pop'... and the crinkle punched scalloped border...and the gems.
Details make such a difference!
More fun details:

The little stitched scalloped circles.. I LOVE.
I got the punch from Stampin' Up... LOVE their punches!

Do I have too much fun???
YES I DO!

thanks for visiting!

Tuesday, July 2, 2013

Four Season's Table Decor

I recently did the decor for a Church Enrichment Meeting...
the 'Un-Birthday Party'.
We wanted the sister's to sit with [others]... so we chose to seat them with those in their birth season,
so they'd get to know someone new!

So I did the Four Season's decor...
with little month banners showing where they 'belonged'.
It was great fun...
and I always love doing this sort of thing.
(and yeah... I know I always [have] to go all out)

When you walked in this is what you saw:
it made a nice, cozy group!

I'm lucky enough to have a daughter... that 'loves me'... and loans me her wedding decor!
Hence the tablecloths and chair ties!

The first table was SUMMER.
I did not buy anything.  I used what I had around the house... mine and some from Kari.
AND...
lucky for me, my hubs is always [happy!] to make stuff for me. LOL
For this, he made the wooden flip flops and the mason candle jar holders.

This is the other side of that table...
My hubs made the little wooden tote box.

The next table was WINTER
My hubs didn't [have] to make anything...
I had an up-cycled cabinet door I found...
and painted it as a chalkboard! (It's on the table, with the stuff on it)

Here is the other side.
It was important that it didn't look like Christmas... just WINTER!

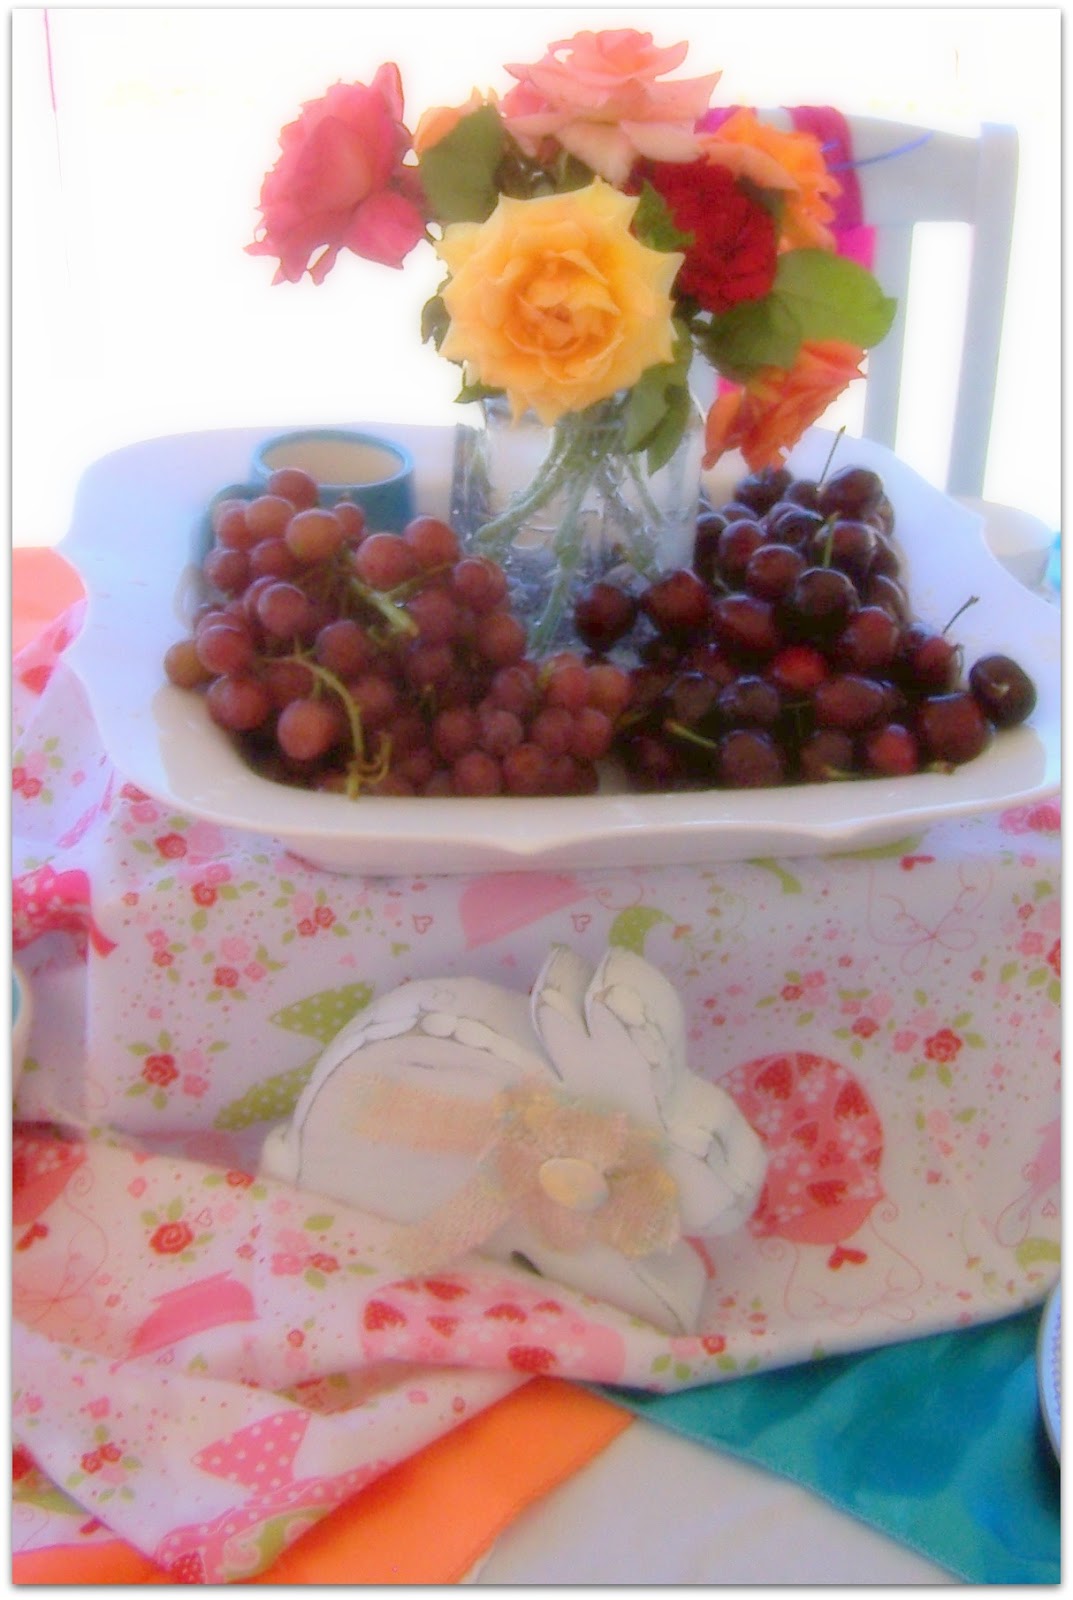
The next table was SPRING.
I borrowed my daughter's cake plate for this one!
 

Everything else I had!
I have a LOT of white accessories.
I find that I can use them in a multitude of ways... just by adding some color!

The next and last table was FALL.
 This one was very woodsy... and natural.
My hubs made the little owl!

This is the other side.

We had a great turnout at this event.
We had several skits...
that were quite entertaining!
THANKS to all who participated!

thanks for visiting!

Saturday, June 29, 2013

Fun BOY layouts!

I have more layouts to share with you!
I actually did these several weeks ago, 
not too long after I 'discovered' Heidi Sonboul.
I actually made TWO of EACH of these layouts.  Yep...
so I could give one each to the two cousins.
They were fun, at least, so they didn't drive me cRaZy.

It all started when the cousins were looking at all the
wacky ways Picassa could edit the photos.
They were laughing SO hard... it was funny to see them.
So I wanted to incorporate that for them.
 
Luckily, I happened to have TWO of the large filmstrips
that would hold three of the photos!
So I went to work:


Below you can see the filmstrip!
It 'went' with this so good. 
(sorry my photos are not better...)

 These boys hit off so good... it was the first time they met...
and it was like they have known each other forEVER.

Underneath the top photo:

Is another... REAL photo of the boys.

I had more photos... so decided to do another layout:
I got the IDEA for this layout from one Heidi Sonboul did.
(Click HERE to see hers!)
More views:
I'm actually HOPING that the boys will write on these tags..
their memory and thoughts about this visit!


That 'tape' you see?
It's old... from Heidi Swapp!  
This was long before washi tape...

So now... I've given the cousin here his...
I just gotta mail the other set to the other cousin!
Along with a BUNCH of other stuff I gotta do for them...
~sigh~
But it's ALL FUN.

thanks for visiting!

An AMAZING 'Alice in Wonderland' Party!

My daughter is amazing in decorating for parties and weddings.
Her daughter turned 6... and wanted an
'Alice in Wonderland Tea Party'.

She searched on Pinterest for ideas...
and this is what she came up with
(with a bit of help from me!)

Prepare to be amazed!
(photo heavy!)

Welcome to Wonderland
 After greeting the girls...
they got to hold a real live bunny!
We took photos of each child holding a bunny in the chair:
They were all SO CUTE!
Then, into Wonderland...
The children were entertained by coloring some fun
Alice in Wonderland printed pages.
the details:

Details of the 'junk bow'

They were served a drink:
and then...
the TEA PARTY right out the door:

whoops!
I caught the Mad Hatter (a really cute one!) preparing the tea party!


After they ate and ate...
they went around the corner,
to visit the Queen's rose painting party!

It turned out 
wonderful!
So fun and memorable.

thanks for visiting!