
We sure do 'collect' a lot of JARS, huh?
What can we do with them, besides re-cycling?
Some of my favorite jars, I keep.
Recently I found a great book at the Salvation Army store for $1.
It's a kid's story book... but no pictures... and it's bigger than normal...
and a wee bit 'aged'.
So I used it for the book page paper
and made the flowers on the jars!
and made the flowers on the jars!
Plus I used burlap from Home Depot that has a really loose weave
(which is VERY in-expensive and found in the garden shop).
plus some white burlap I picked up at a fabric store a while back,
plus some jute twine in different sizes,
plus some [packing] corrugated paper I managed to get from work! [FREE!]
plus some [packing] corrugated paper I managed to get from work! [FREE!]
...and made this CUTE vignette of jars! [and one candle]

and here are the DETAILS, with directions how to make the flowers!
NOTE: I used a COOL GLUE gun for everything!
I used these punches for the flowers:

The letter is simply stenciled on the white burlap, and outlined a bit with a permanent marker. Then I glued the burlap onto the jar,
then added jute trim to the top and bottom.

couldn't find anything... then thought ... 'why not use a tuna can?!'
So I simply covered it with some of the corrugated paper,
and tied on a jute bow!

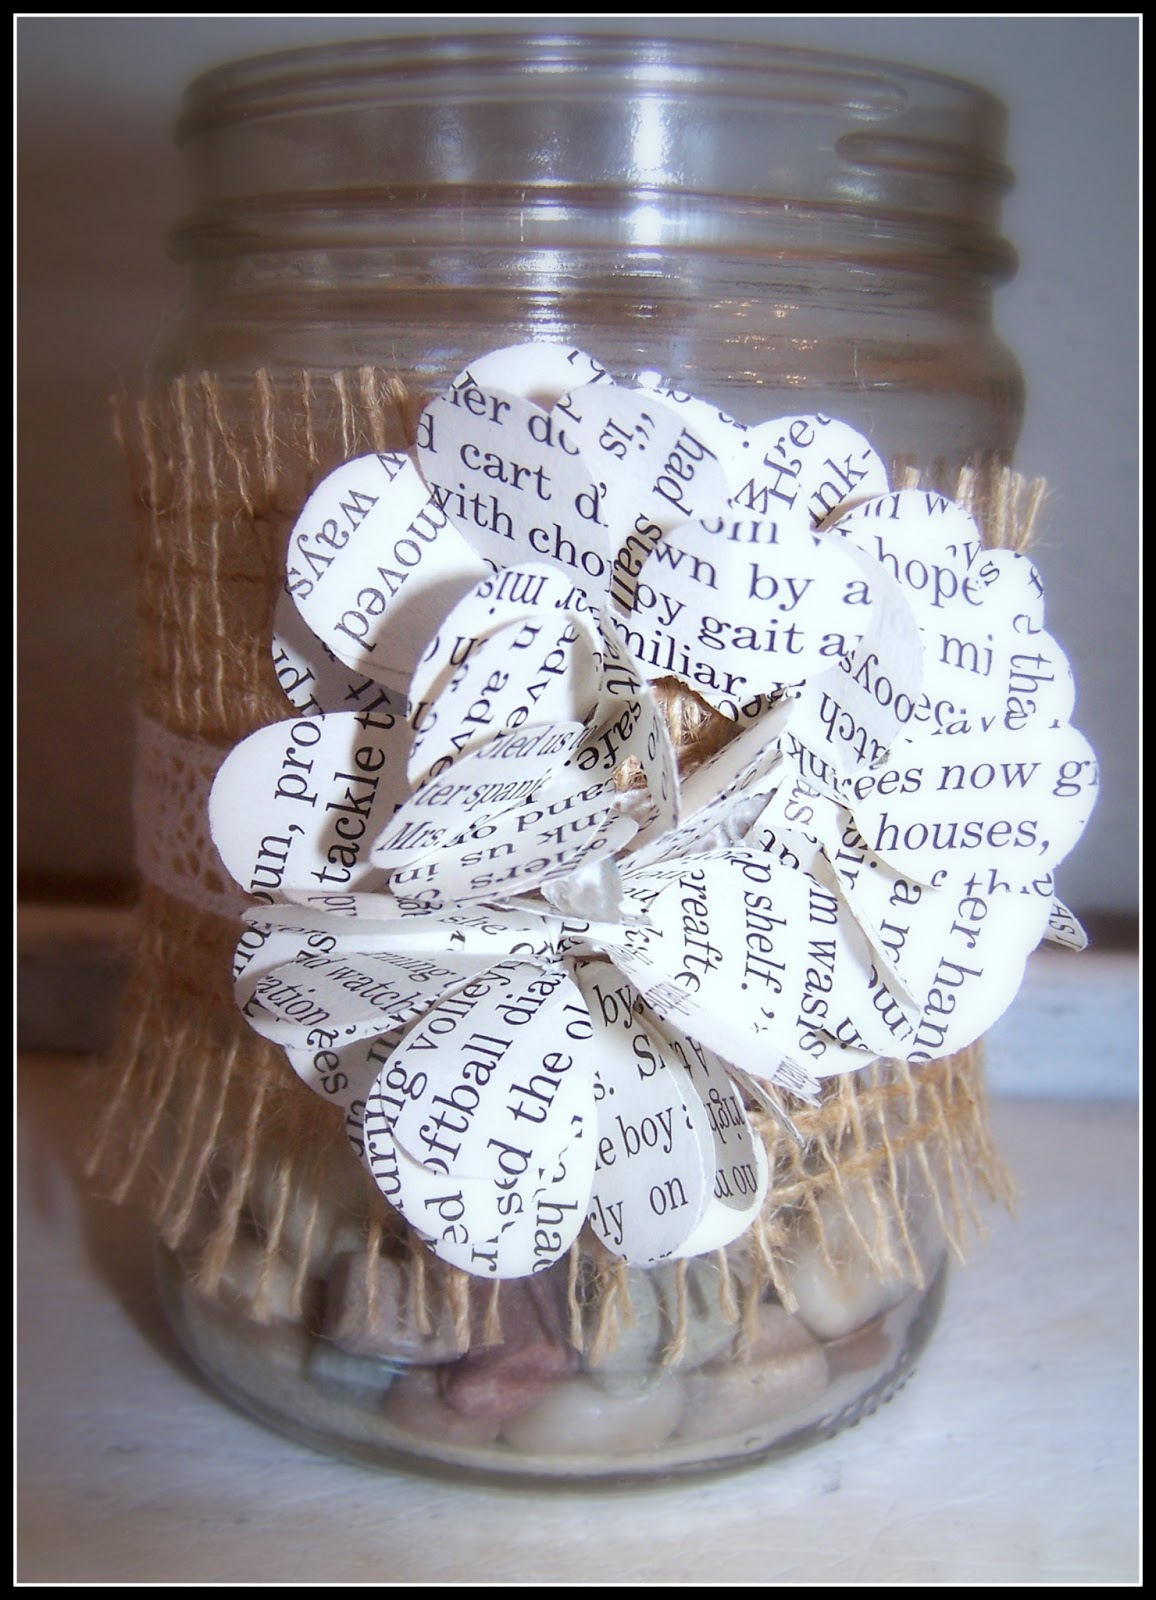
I used the loose weave burlap from Home Depot around this jar.
Added some lace trim, and made the paper flowers.
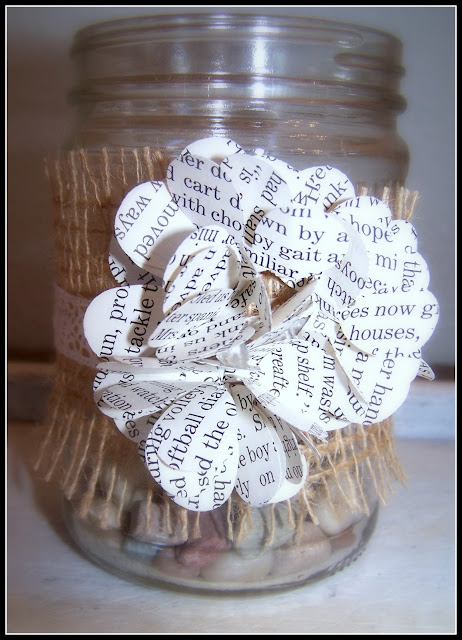
The paper flowers were made like this:
1) Punch out three flowers
2) Fold the flowers into thirds
3) Put them one by one onto a 'Pop-Up Glue Dot'
4) Fluff into the flower!

This jar is wrapped with the white burlap...
and wrapped with a few rounds of jute.
Then I made the rosettes, [directions below], and added a few twigs!

I simply added a few Pop-Up Glue Dots to the top of the
candleholder, to temporarily hold the jar in place.

...and the directions to make the rosettes:
1) Punch a circle
2) [Draw a 'snail' line if you need to, and
cut it out, leaving a small 'circle' in the very middle.
(I trim the outer edge to smooth it out, 'cause there is a little 'bump')
3) Start rolling up the cut edge, with the inner part as the
'bottom' of the flower... trying to keep the 'top' part fanning out a bit.
(Yeah, it's tricky... you have to play with it a bit to get the hang of it)
4) When you get to the 'end'... add a Pop-Up Glue Dot to the
little 'circle' in the middle/end, and push the bottom tightly into it. 5) You got your rosette!

This one is fast and easy!
Just the loosely woven burlap with some lace over the top...
and a simple jute bow.
Again, I temporarily glued the jar to the top of a candleholder...

This one I simply used a permanent marker and free-handed the letter on a white burlap square.
Then glued it onto the loose burlap, and around the jar.
Then added a simple jute bow around the top.

My favorite jar!
I did the rosette's along with a few other flowers, shown below.
First wrapped the jar with the paper, and tied jute around three times.

The flowers:
The posie:
1) Punch three posies
2) Trim them into the petals, so they are looser.
3) Fold each into thirds, making sure you don't 'match' the petals.
4) One by one... push each into a Pop-Up Glue Dot...
5) And fluff!

And the other one:
1) Since these are daintier, punch four!
2) Fold into fourths
3) Stick/push each into the Pop-Up Glue Dot...
4) Fluff and enjoy!

Then, last, but not least:
the little candle.
[NOTE: the candle stand was old and black. I re-painted it]

The candle was old and had black running down the sides..
So I decided to cover it with the corrugated paper.
Then made a flower with the white burlap...
SO CUTE!!!
1) Cut a piece of burlap about 3 x 9"
2) Fold over one [short] end and glue
3) Find the middle 'string' and pull... to gather it slightly
4) Fold it in half... along the pulled string
5) Glue as you roll up, keeping the folded part 'tight'...
and the loose part 'fluffy'
6) When you are done, press out the 'petals' slightly to form the
CUTE flower!

I wanted the thank the sources that I got some of my info from:
You can check out their blogs for their own beautiful projects!
Holly from http://downtoearthstyle.blogspot.com/
Tonya from http://www.loveoffamilyandhome.net
I hope I've inspired you to CREATE some COOL decor!
thanks for visiting!
danella
Added some lace trim, and made the paper flowers.
The paper flowers were made like this:
1) Punch out three flowers
2) Fold the flowers into thirds
3) Put them one by one onto a 'Pop-Up Glue Dot'
4) Fluff into the flower!

This jar is wrapped with the white burlap...
and wrapped with a few rounds of jute.
Then I made the rosettes, [directions below], and added a few twigs!

I simply added a few Pop-Up Glue Dots to the top of the
candleholder, to temporarily hold the jar in place.

...and the directions to make the rosettes:
1) Punch a circle
2) [Draw a 'snail' line if you need to, and
cut it out, leaving a small 'circle' in the very middle.
(I trim the outer edge to smooth it out, 'cause there is a little 'bump')
3) Start rolling up the cut edge, with the inner part as the
'bottom' of the flower... trying to keep the 'top' part fanning out a bit.
(Yeah, it's tricky... you have to play with it a bit to get the hang of it)
4) When you get to the 'end'... add a Pop-Up Glue Dot to the
little 'circle' in the middle/end, and push the bottom tightly into it. 5) You got your rosette!

This one is fast and easy!
Just the loosely woven burlap with some lace over the top...
and a simple jute bow.
Again, I temporarily glued the jar to the top of a candleholder...

This one I simply used a permanent marker and free-handed the letter on a white burlap square.
Then glued it onto the loose burlap, and around the jar.
Then added a simple jute bow around the top.

My favorite jar!
I did the rosette's along with a few other flowers, shown below.
First wrapped the jar with the paper, and tied jute around three times.

The flowers:
The posie:
1) Punch three posies
2) Trim them into the petals, so they are looser.
3) Fold each into thirds, making sure you don't 'match' the petals.
4) One by one... push each into a Pop-Up Glue Dot...
5) And fluff!

And the other one:
1) Since these are daintier, punch four!
2) Fold into fourths
3) Stick/push each into the Pop-Up Glue Dot...
4) Fluff and enjoy!

Then, last, but not least:
the little candle.
[NOTE: the candle stand was old and black. I re-painted it]

The candle was old and had black running down the sides..
So I decided to cover it with the corrugated paper.
Then made a flower with the white burlap...
SO CUTE!!!
1) Cut a piece of burlap about 3 x 9"
2) Fold over one [short] end and glue
3) Find the middle 'string' and pull... to gather it slightly
4) Fold it in half... along the pulled string
5) Glue as you roll up, keeping the folded part 'tight'...
and the loose part 'fluffy'
6) When you are done, press out the 'petals' slightly to form the
CUTE flower!

I wanted the thank the sources that I got some of my info from:
You can check out their blogs for their own beautiful projects!
Holly from http://downtoearthstyle.blogspot.com/
Tonya from http://www.loveoffamilyandhome.net
I hope I've inspired you to CREATE some COOL decor!
thanks for visiting!
danella
No comments:
Post a Comment